Sir We Have an Orc Problem Level 4 Walkthrough
The first serious scaling wall where per-level orc speed and split streams punish lazy placement.
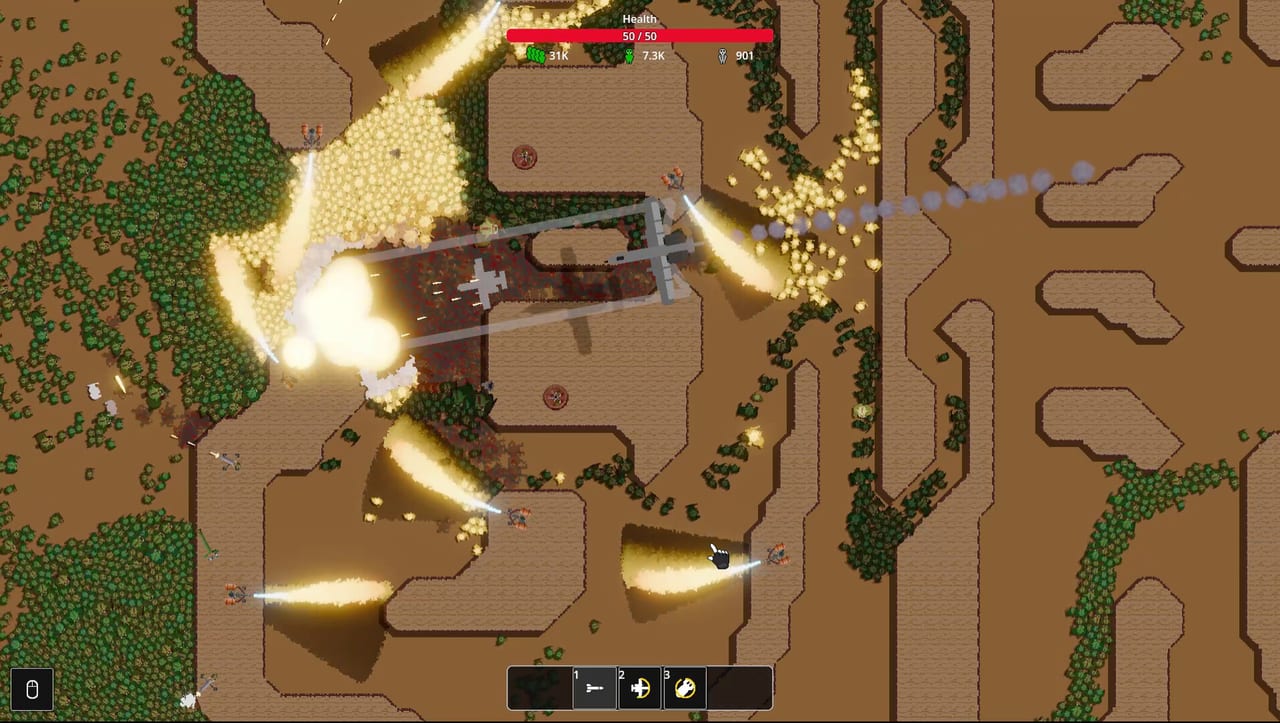
Why Level 4 deserves its own page
Mumpitz Games flagged levels 4 and 5 for difficulty scaling work after the May 2026 playtest, and Steam discussions still treat Level 4 as the first map where demo habits break. Orc move speed increases per level from the June 12 patch, so a Gunner line that felt comfortable on map three can leak on map four even if your meta tree barely changed. Level 4 also tends to expose whether you bought economy payout nodes early or over-invested in raw Gunner damage without tower caps.
This walkthrough sits between Early Levels and Level 5. Watch the embedded mid-campaign footage for how players split kill zones when the map widens, then adapt placements to your unlock set rather than copying tower counts blindly.
Scout the map before spending
Level 4 rewards a disciplined scout run:
- Open level select and read the enemy count icon added in demo patches.
- Start battle with minimal towers to watch where the stream splits.
- Mark one primary choke and one secondary pinch if the map offers two lanes.
- Recall with R and place a Flamethrower front on the lane that carries the highest density.
- Back the flame with Gunners on overlapping cones; hold Mortar slots until you confirm lob points.
If you skip scouting, you will discover leaks mid-wave when speed ramps - expensive on maps where every retry should fund a node. Choke Points explains funnel geometry; this page applies it to Level 4’s wider approach.
Meta unlocks that matter here
Before grinding Level 4 for an hour, confirm these account milestones:
- At least two Gunner cap increases or equivalent DPS nodes
- One end-of-battle payout percentage from Economy and Meta Progression
- Flamethrower unlocked with baseline tick reliability
- Mortar unlocked or one attempt away - Level 4 is where lobbed splash starts paying
- Optional Damage Statistics so you know whether flames or Mortars carry
Use Upgrade Priority and the Upgrade Planner between attempts. If income feels slow, farm Early Levels once with Bonus Resources etiquette from Bonus Resources - finish the run for flat payout nodes.
Dual kill zone layout
Many Level 4 layouts support two killing fields instead of one mega-choke. Angory Tom’s playthrough mentality applies: split towers when the map offers two credible pinch points, but do not split so thin that neither lane has enough DPS. A practical template:
- Lane A (primary): Flamethrower front, Gunner mid, Mortar on the merge clump
- Lane B (secondary): Gunner pair with one Mortar if shells can reach stacked bodies
- Reserve: One missile or strafing run for the moment both lanes spike together
If one lane consistently leaks while the other over-kills, shift one Gunner or Mortar rather than buying base HP repeatedly. Speed scaling means static layouts decay - rebuild when survival time drops attempt over attempt.
Mortar timing on Level 4
Mortars reward explosion radius before duplicate towers. One well-aimed Mortar on a merge point often out-damages three misplaced lobs on empty berm. Upgrade radius nodes from Combat Upgrades before chasing a second Mortar cap unless the map truly has two independent clump zones.
Compare Mortar totals to Flamethrower burn damage after each run. Forum debates about flames being overpowered usually assume every orc passes fire once. On Level 4’s split paths, orcs may bypass a narrow cone - Cannons and Mortars then win Damage Statistics even when flames looked strong on paper.
Ability discipline
Level 4 is early enough that abilities should be emergency tools, not your primary DPS. Save missiles for stacked clumps in the kill zone, not the opening trickle. If you unlocked strafing runs, fire them when both lanes spike simultaneously rather than alternating panic clicks every ten seconds.
The June patch fixed calling multiple strafing runs from the pause menu - older clips may show spam that no longer works. Read Tips and Tricks for cooldown habits that carry into Mid-Game Walkthrough.
Farm loop when stuck
Treat three failed attempts as a farm session, not a skill check:
- Run the map until the base falls late enough to fund a node.
- Spend all currency before restarting.
- Buy payout or penetration before cosmetic upgrades.
- Re-scout if survival time does not improve after two purchases.
- If still stuck after six nodes, repeat the previous map once for faster income.
This loop is intentional incremental design. Meta Farming Runs expands the etiquette for launch-week players juggling Bonus Resources rules.
Developer scaling context
Public Steam news after the playtest promised a revisit of levels 4 and 5 plus end-of-demo upgrade scaling. Level 4 may receive future tuning - bookmark Patch Notes and Post-Launch Roadmap when new notes land. Until then, assume per-level speed and reliable flame ticks from the June build.
After Level 4
Clear Level 4 cleanly, then open Level 5 Walkthrough for automation goals and visual-polish notes. If speed already feels brutal, read Flamethrower Strategy before blaming tower choice. When both maps feel stable, continue into Mid-Game Walkthrough and Late-Game Walkthrough.
Related pages
- Walkthrough Hub - full stage list
- How to Beat Hard Levels - recovery when leaks happen late
- Turret Tier List - which tower earns the next slot
- Controls - recall and hotkeys for fast rebuilds
Frequently Asked Questions
Quick answers to the most common questions.
Why does Level 4 feel harder than Level 3?
Orc move speed increases per level from the June patch, and Level 4 maps often split streams. Rebuild chokes and verify economy nodes before raw damage purchases.
Should I use one kill zone or two on Level 4?
Use two only when both pinch points can sustain overlapping fire. If one lane is weak, consolidate towers into the primary choke first.
When should I unlock Mortars for Level 4?
As soon as the meta tree offers Mortars and you have identified a clump point. Prioritize explosion radius before a second Mortar tower.